
Color Block Jam Level 1419 Walkthrough
Compare the starting board for Color Block Jam Level 1419, then use the recorded checkpoints and illustrated strategy notes below.
Video source: YouTube · Kamel Tutorial. Watch original recording
Starting board and recorded checkpoints
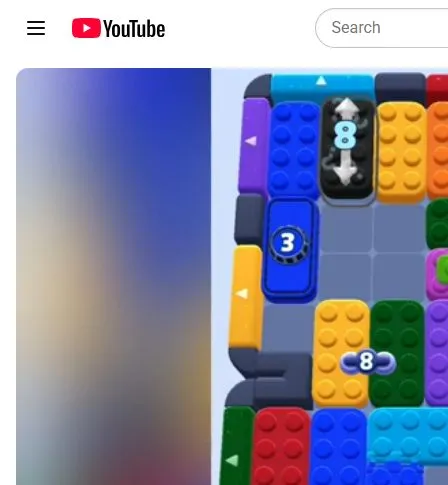
Match the orange arch at the top, red bent piece at bottom right, layered horizontal pieces, black counter 8, paired middle counter 8 and blue numbered block 3.
Creator-labelled Level 1419; cropped footage omits the in-game counter and timer. Selected frames checked through 4:22; a completion screen has not been verified. Not independently replayed. Reviewed: 2026-10-09.
Video checkpoints and movement notes
These are selected recorded checkpoints, not a complete move-by-move transcript. Stop if your board or available exits differ.
| Video time | Action / focus | Result / what to check |
|---|---|---|
| 0:00 | Match the orange arch and numbered obstacles. | Reject a different layout even if its title says 1419. |
| 0:10 | Watch the small dark-green block move toward the upper-right green exit. | Horizontal layered pieces are repositioned beneath the arch. |
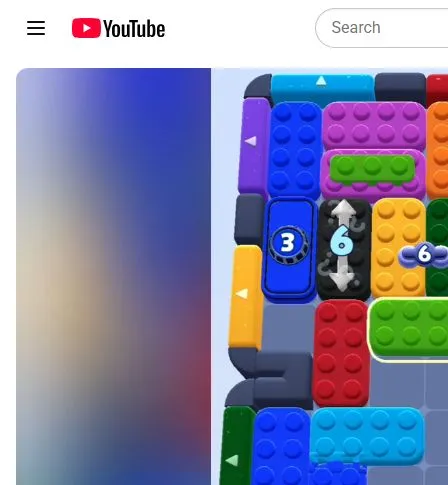
| 1:27 | Compare the now-open lower-middle corridor. | Black and paired counters show 6; the blue block still shows 3. |
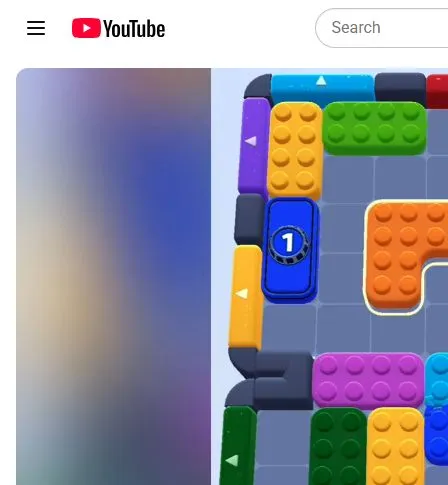
| 4:22 | Study the arch relocation in the recording before moving this large shape. | The arch is in the upper middle and the blue counter shows 1. |
1How To Clear Level 1419
- 1.Match the orange arch and numbered obstacles. Reject a different layout even if its title says 1419.
- 2.Watch the small dark-green block move toward the upper-right green exit. Horizontal layered pieces are repositioned beneath the arch.
- 3.Compare the now-open lower-middle corridor. Black and paired counters show 6; the blue block still shows 3.
- 4.Study the arch relocation in the recording before moving this large shape. The arch is in the upper middle and the blue counter shows 1.
Still stuck on 1419?
Check the opening screenshot and the relevant video checkpoint against your own board. If the block arrangement differs, use the planning tips rather than copying a move that is unavailable.
!Pro Tips
- •Keep an arch-sized pocket available; a narrow corridor cannot accommodate the whole shape.
- •Check exposed colors on layered pieces after each change.